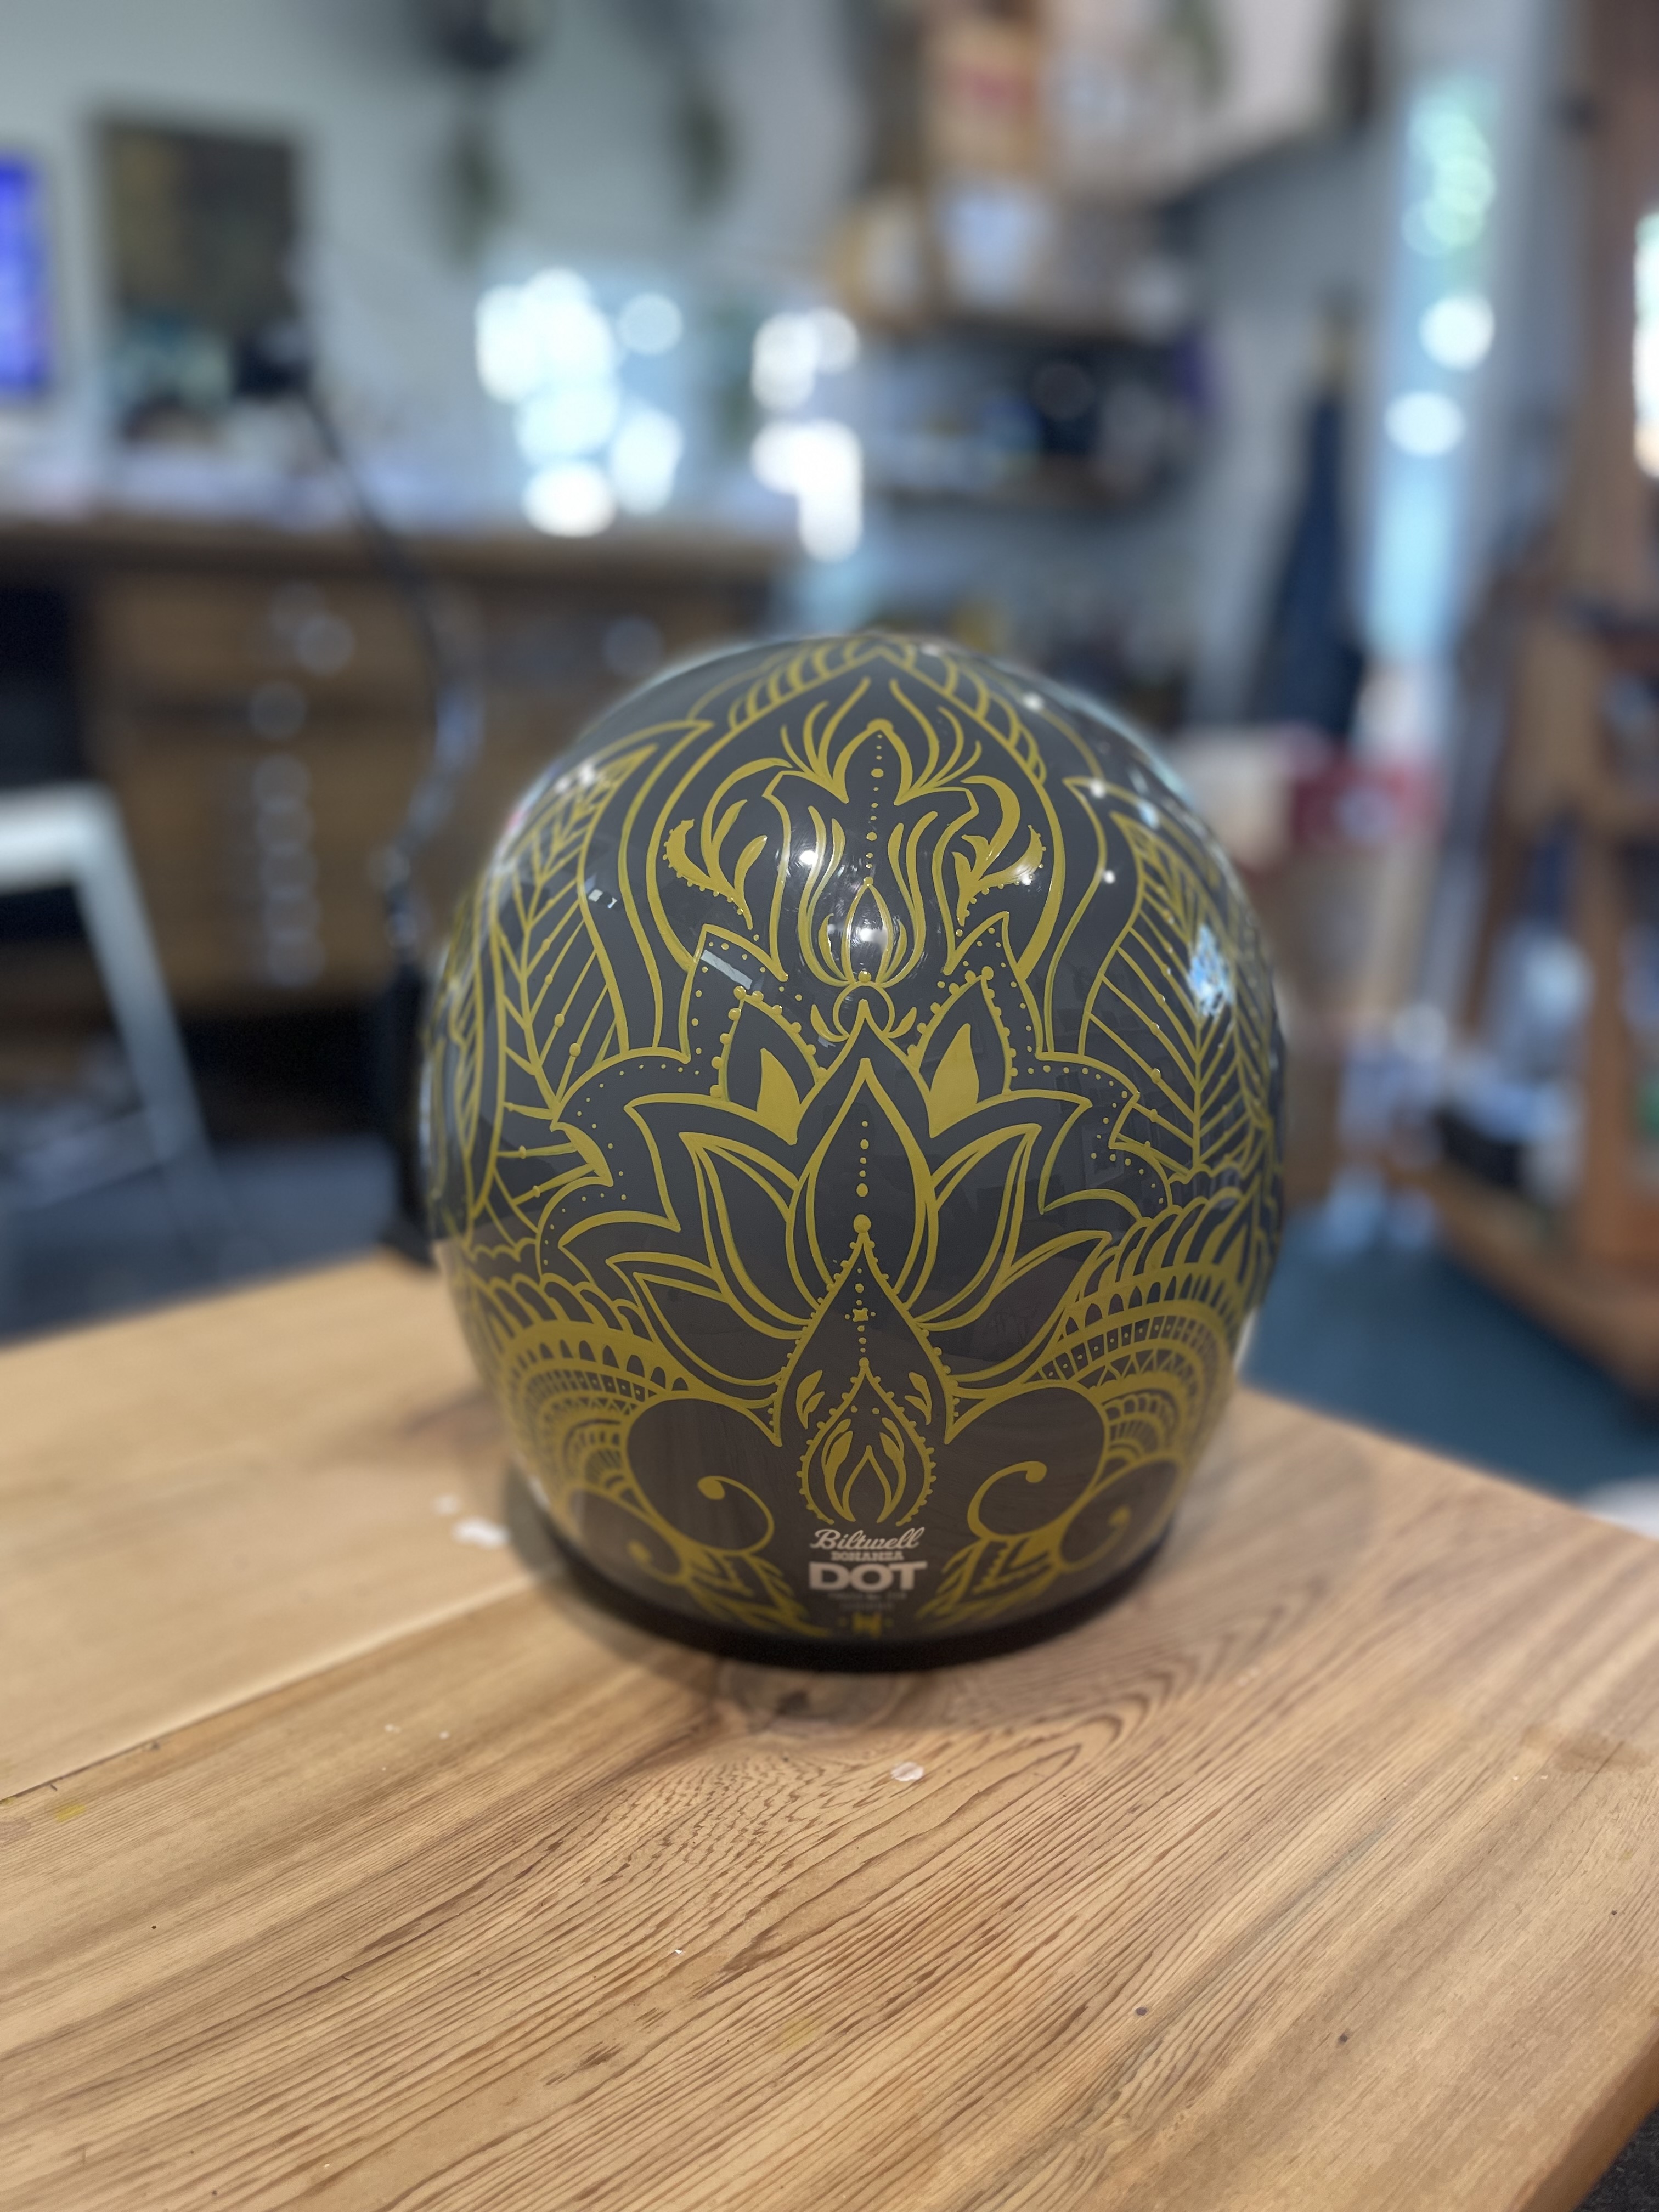
A few years ago was my first Babes Ride Out. It was also my first time teaching paint workshops with The Real Deal Revolution. This event was the last plan one of my closest friends, Jessi Combs, and I made together prior to her passing. The Real Deal is a nonprofit organization that focuses on women teaching women trades. The workshops I teach are an extremely entry level “How To” in order to introduce brushes and paint for those curious. I work in several types of paint on a multitude of surfaces, but at this event, like most of the classes I teach, I choose to teach enamel paint pinstriping techniqeus. This post will go over the basics of painting a helmet with pin striping methodology.
What kind of paint are you using and what kind of brushes are those? Those seems to be the biggest question people have, but there are a couple other things to consider. The following is a good place to start when wanting to learn enamel paint.
DEGREASER - Paint for this application does not like oil, not even the oils in your hands, so you need to remove residue from surfaces.
STABILO ALL PENCIL - This Pencil is specifically made to draw on almost any surface and will not resist or interact with the paint. You can draw directly on the helmet but be soft with your touch because you can scratch the surface and if you go to heavy handed with the pencil the paint won’t stick! An alternate to this methos is using a transfer paper. You must use Saral paper as other types will resist the paint
ENAMEL PAINT - I use two brands enamel of paint, which are 1Shot and Alpha 6 Corporation Enamel Paint called AlphaEnamel. Both are great paints. 1Shot is the tried and true, but Alpha6 is a young and upcoming company who has an excellent array of colors.
BRUSHES - I use Mack Brushes and specifically The Virus brush series but you can use whatever you like the best, and in may take some experimenting to find what you like.
PALETTE - You need a surface to mix your paint and old magazines or junk mail work perfect!
PAINT MEDIUMS - A common medium is Mineral Spirits, there are several mediums out there but this will suffice when you’re starting out. Once you are more comfortable painting you should use proper reducers as they are more stable for the paint.
BRUSH OIL - This will be important when you are done Painting.
Now we know what we are using let’s dive into the how!
Step 1 Wash the helmet. Spray a soft cloth with degreaser and get the bothersome substrates off the helmet. Brand new helmets will have a subtle coating on them from the factory and if you don’t get rid of it you will run into adhesion problems.
Step 2 Once clean it’s time to lay out your design. Grab your pencil and draw a general idea on your helmet the more pencil marks you make the more problems you can run into, so keep it light and keep it a general outline. With more practice the less you’ll have to draw out! If you drew out your design use the transfer paper to put your image on the helmet surface

Step 3 The fun part begins, so grab a bottle of paint and get shaking, or use a stick to mix the paint. Paint will naturally separate with time so you need to get the pigment and medium well mixed. Pop the top and squirt about a quarter size dab of paint on the palette. Any more than this I find the paint starts to dry to quickly if your not moving fast. If you are working outdoors and in the wind your paint will not last long.
Dip your brush in some mineral spirits and swirl it in your paint till the bristles are wet and even. This is the hardest thing to describe instead of show, but it is all about viscosity. Too much paint or if the paint is thin from to many spirits, then when your brush touches down you will have a mess. Not enough paint or your paint is drying out, then you will get a dry brush look and an uneven line. It will take time to get balance correct but don’t give up just keep practicing. Lastly always “pull your line” if you try to push your brush you won’t have good control of the outcome.
Feel free to stand and move around the object your painting to place yourself at a good angle.
Step 4 After your art is complete comes some very important steps to maintain the life of your brushes. Brushes for enamel paint can get expensive so you want to make sure you take care of them. I keep 3 bottles. Dirty mineral spirits, clean mineral spirits, and a bottle of brush oil. When I’m done painting I get as much paint off as I can in the dirty mineral spirits and wipe it with a cloth. Then I swish it around in the clean spirits and wipe the brush again. Finally, I dip it in the brush oil and leave it sloppy with oil in my brush tin. Leave the oil on your brush till your next use because enamel paint will never harden with the presence of oil. When you are ready to use your brush again wash thoroughly in your dirty spirits, wipe, swirl in the clean spirits, and you are ready to work again!

I hope this was helpful. Feel free to contact me on my instagram handle KaylaKoeune if you have any questions about material or techniques. Cheers!


